Text Savvy - a tutorial
Hello there,
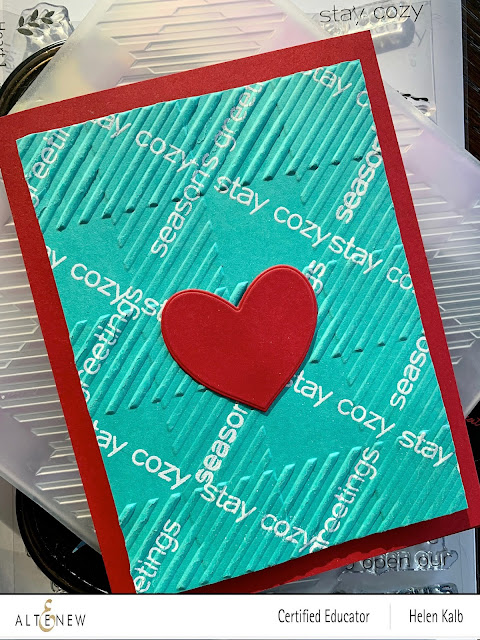
Today I have a fun technique to share with you on how to use a stamped word pattern together with an embossing folder.
My goal was to use the really fun Buffalo Plaid 3D embossing folder from Altenew together with some stamped text to form a kind of argyle pattern.
Let's have a quick look at one of these cards to understand what we are aiming for!
To make this happen you have to start with the stamping, so let's jump right in.
Take a piece of card stock, slightly larger than what your end result should be and trace the criss cross lines of stamping in pencil.
Top 1 To do this you use the embossing folder as a guide and a ruler. It does not have to be perfect as long as the angle of the lines are on the diagonal.
Top 2 Once you have the diagonal, slide in your piece of card stock under the ruler on top of the embossing folder.
Top 3 Trace all the diagonal lines.
Mid 4 Turn over and trace the opposite diagonals.
Mid 5 All tracing done!
Mid 6 Place your greeting stamp on an acrylic block, with lines preferably.
Bot 7 Stamp all the greetings on all the lines, make sure to stagger them. Erase the pencil lines.
Bot 8 Place fully stamped sheet inside the embossing folder to line up.
Bot 9 All done!
Now cut down your embossed piece to size and try to make the embossed pattern as even as possible on all sides.
Embellish as desired. On this card below, I also embossed the backing gold foil sheet.
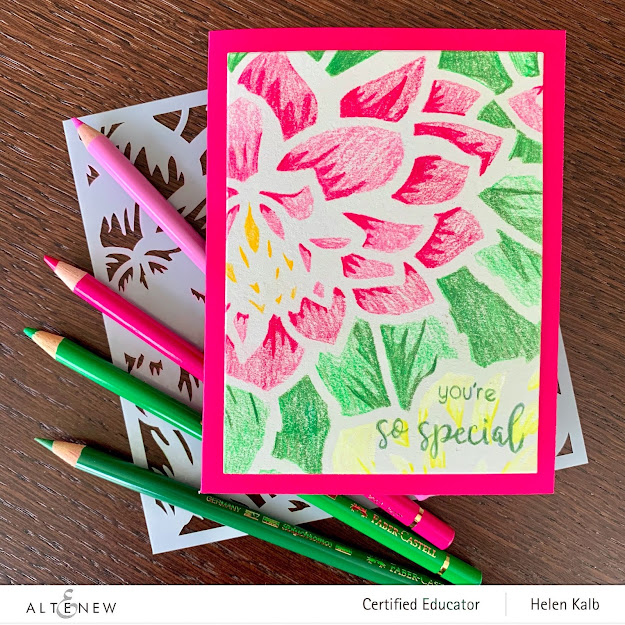
And below are my two cards.
I hope you enjoyed my tutorial, let me know if you have any questions in the comments below.
Hugs,
Helen


Comments
Post a Comment
I love reading your comments, thanks for taking the time to leave one :)
This is a public blog, meaning any comments left will be visible by 3rd parties and 3rd parties may be able to access your information from your comment left here. I will not contact you except to answer your comments and I will not store your contact information anywhere else than in your comment.