
Heat embossing over die inks - AECP post
If you want to have a shiny embossed surface on your stamped images, you need to use a sticky ink and embossing powder. However, what if you are using die inks and want to emboss multicolored images and you want a colored background?
This post is part of my Altenew Educator Certification Program I am planning to finish up Level 2 by the end of March. Read more about the program by clicking the link above.

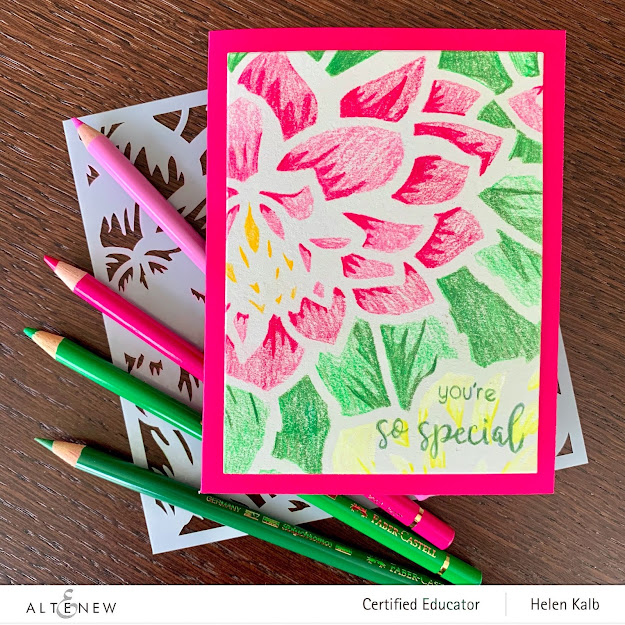
I started my project by stamping out the beautiful flower and leaf cluster from the Angelique Motifs stamp set. To be able to make multiple cards I decided to use my MISTI stamp positionner. I used various color combos to end up with three slightly different cards that form a set.

On the picture above you can see the different combos, these are the ink colors used:
Top left card: Pink Diamond, Pinkalicious, Rubellite, Citrus Burst, Maple yellow, Honey Drizzle, Bamboo, Parrot, Olive.
Top right card: Pinkalicious, Rubellite, Razzleberry, Fresh Lemon, Maple Yellow, Honey Drizzle, Firefly, Grass Fields Shadow Creek
Bottom card: Rose Quartz, Puffy Heart, Purple Wine, Butter Cream, Warm Sunshine, Caramel Toffee, Frayed Leaf, Forest Glades, Evergreen.

You can imagine all the ink pads on my desk for stamping all three cards at the same time, so to help me pick up the correct color when I stamp I have a system.
My ink pads are coded, using a Sharpie marker I write the initial letter(s) of the color family, in this case RP for Rose Petal, then the number of the ink pad in that series from the lightest to the darkest. This is VERY helpful on many occasions and I think the tip originally came from Jennifer Rsaza.

I absolutely love the Altenew Crisp Inks and all the different colors available. The fact that you get sets of four inks in a family makes it so easy to combine shades. In the latest release there are new colors and groups of three instead of four. I am very much looking forward to seeing these swatched out to help me decide which ones to get. :)
Who am I kidding - I will of course have to have them all!

Next step is to add embossing ink over your images. Angelique Motifs being a layering set there are no complete stamps to cover the whole image so I had to line up each largest stamp on top of the stamped image several times to cover the full image. Again using the MISTI and stamping multiples really saved the day here. I then embossed using a clear powder from Hero Arts.

However I wanted my images to really pop so once all the embossing was done I did some heavy ink blending on top using Distress Oxide inks, in Peacock Feathers and in Twisted Citron. This completely changed things up!

This will add gorgeous color but will also somewhat dull the embossed images so to fix that I buffed the surface with MicroGlaze from JudiKins. This will waterproof the finish and make it smudge resistant as well as remove any excess ink from the embossing.

The images were then die cut with the Halftone Hearts Nesting Die. This die cuts a lovely, classic, rounded heart and is my "goto" heart die for sure.

You can really see the shine in the embossing above that was a little difficult to capture in the classic photographs below.

The last step was to gold emboss the leaf/stem shape in gold randomly on my white card fronts and mount the hearts with foam tape onto the cards. If I feel that I need to add a sentiment I will do so later on the inside, I think the front of these cards is busy enough.

My favorite of the three is the card below, let me know what you think in the comment section below.

These cards were inspired by a really fun class in the Altenew Academy - Impressive Heat Embossing with Svetlana Marchenko (aka Sveta Fotinia). This class reminded me of techniques I had completely forgotten and it was so fun. Sveta is also a very talented member of the Altenew Design Team so that speaks for the quality of the class!
Please visit her blog Fotinia Scrap to see her beautiful work.

This post is part of my Altenew Educator Certification Program I am planning to finish up Level 2 by the end of March. Read more about the program by clicking the link above.

I started my project by stamping out the beautiful flower and leaf cluster from the Angelique Motifs stamp set. To be able to make multiple cards I decided to use my MISTI stamp positionner. I used various color combos to end up with three slightly different cards that form a set.

On the picture above you can see the different combos, these are the ink colors used:
Top left card: Pink Diamond, Pinkalicious, Rubellite, Citrus Burst, Maple yellow, Honey Drizzle, Bamboo, Parrot, Olive.
Top right card: Pinkalicious, Rubellite, Razzleberry, Fresh Lemon, Maple Yellow, Honey Drizzle, Firefly, Grass Fields Shadow Creek
Bottom card: Rose Quartz, Puffy Heart, Purple Wine, Butter Cream, Warm Sunshine, Caramel Toffee, Frayed Leaf, Forest Glades, Evergreen.

You can imagine all the ink pads on my desk for stamping all three cards at the same time, so to help me pick up the correct color when I stamp I have a system.
My ink pads are coded, using a Sharpie marker I write the initial letter(s) of the color family, in this case RP for Rose Petal, then the number of the ink pad in that series from the lightest to the darkest. This is VERY helpful on many occasions and I think the tip originally came from Jennifer Rsaza.

I absolutely love the Altenew Crisp Inks and all the different colors available. The fact that you get sets of four inks in a family makes it so easy to combine shades. In the latest release there are new colors and groups of three instead of four. I am very much looking forward to seeing these swatched out to help me decide which ones to get. :)
Who am I kidding - I will of course have to have them all!

Next step is to add embossing ink over your images. Angelique Motifs being a layering set there are no complete stamps to cover the whole image so I had to line up each largest stamp on top of the stamped image several times to cover the full image. Again using the MISTI and stamping multiples really saved the day here. I then embossed using a clear powder from Hero Arts.

However I wanted my images to really pop so once all the embossing was done I did some heavy ink blending on top using Distress Oxide inks, in Peacock Feathers and in Twisted Citron. This completely changed things up!

This will add gorgeous color but will also somewhat dull the embossed images so to fix that I buffed the surface with MicroGlaze from JudiKins. This will waterproof the finish and make it smudge resistant as well as remove any excess ink from the embossing.

The images were then die cut with the Halftone Hearts Nesting Die. This die cuts a lovely, classic, rounded heart and is my "goto" heart die for sure.

You can really see the shine in the embossing above that was a little difficult to capture in the classic photographs below.

The last step was to gold emboss the leaf/stem shape in gold randomly on my white card fronts and mount the hearts with foam tape onto the cards. If I feel that I need to add a sentiment I will do so later on the inside, I think the front of these cards is busy enough.

My favorite of the three is the card below, let me know what you think in the comment section below.

Please visit her blog Fotinia Scrap to see her beautiful work.


Absolutely beautiful, Helen!! Love your inking and showing of the stamping process! The clear-embossing (and gold-embossing) CLEARLY made a difference in you focal point! I am so glad that you enter your beautiful work in Altenew AECP assignment Gallery. Awesome details and design! Super work!
ReplyDeleteWOW WOW WOW! These cards are ROCKIN' Helen!! I absolutely love them!!
ReplyDeleteI am so glad that you entered your beautiful work in the AECP assignment Gallery. Thank you for sharing your creative process! Fabulous job!
Thanks Erum, I’m glad you like them.
DeleteThank you Virginia, I so appreciate your comments. Have a great weekend!
ReplyDeleteWow, these are all amazing cards and impossible to pick a favourite xx
ReplyDeleteThank you very much Andrea
DeleteWhat a wonderful release. It is always so exciting to see!
ReplyDelete